Cross-Device SSO
Cross-Device SSO is a feature that provides SSO between two different applications running on two different devices i.e. mobile application and web application. Basically, Cross-Device SSO is used to set up SSO between a mobile device and a web application. LoginRadius allows you to log in to the web application if you are already logged in to a mobile device.
This feature allows you to get the best experience out of multiple devices by making it easier for them to sign in to your web property. When you log in with an account in a web application, you can be seamlessly logged in to your mobile devices using that same account.
The following screen displays the logical flow for a Cross-Device SSO:

The following explains the working of the above sequence diagram:
- The user agent generates a request for a QR code over the authorization server.
- A QR code is generated and returned to the user agent in response.
- There exists a ping loop between the user agent and the authorization server, which keeps looking for an access token.
- Once the QR code is scanned by the mobile device, an access token is generated and sent to the authorization server.
- Now, as we know, there is a ping loop between the user agent and the authorization server for fetching an access token. A token will be found by the user agent in this process.
- This access token is further used for performing the login action.
Usecase of Cross-Device SSO
Let's take an example of WhatsApp web, In order to log in over the WhatsApp web application, it follows the cross-device SSO flow as in initial steps, it displays a QR code which needs to be scanned by the mobile device where there is already an active session. On the successful scan of that QR code, it logs in to the web application. In this usecase, on the successful scan of the QR code, an access token is returned, which is further used for performing login.
There are many such use cases, but WhatsApp is one of the most famous messaging apps that follows the cross-device SSO flow.
Cross-Device SSO Guide
This guide will take you through the process of setting up and implementing Cross-Device SSO. It covers everything you need to configure in your LoginRadius account and deploy it onto your web application for implementing the Cross-Device SSO.
Pre-requisites: Basic knowledge of HTML/JavaScript.
Part 1 - Deployment
The LoginRadius Identity Platform supports JS implementation to implement the Cross-device SSO feature, Refer to the below steps:
Step 1: Locate the Auth Page URL as explained below:
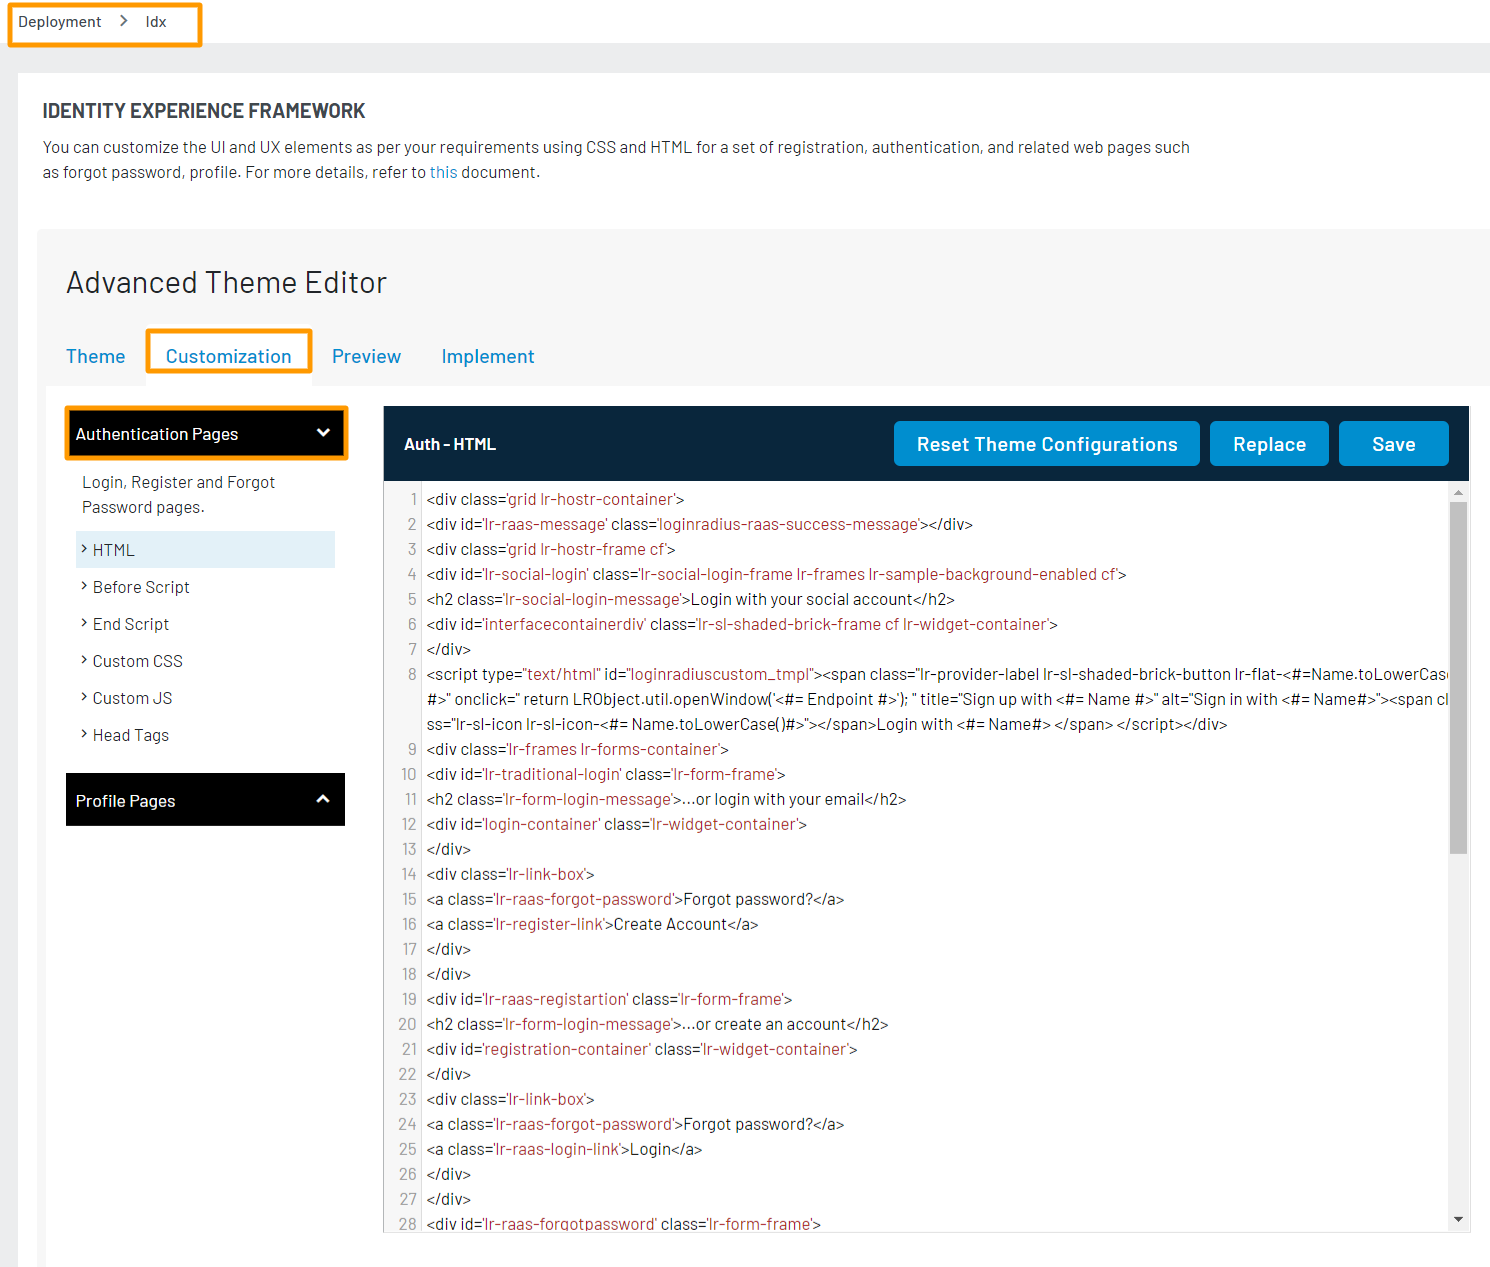
Navigate to Deployment > Identity Experience Framework and the following screen will appear:
The Auth Page URL displays your unique IDX domain in the following format:
<https://<sitename>.hub.loginradius.com/auth.aspx>
Step 2: Embed Authentication Pages in your Website as explained below:
Add a link on your webpage for redirecting customers to the Identity Experience Framework Page.
<a href="https://<LoginRadius Site Name>.hub.loginradius.com/auth.aspx?action=<Desired Action>&return_url=<Return URL>">Register</a>
In the above URL replace the following:
LoginRadius Site Name: Your unique LoginRadius sitename.
Desired Action: The following is the list of actions you can use.
- Login
- Register
- Logout
Examples:
- Login Page
<a href="https://<LoginRadius Site Name>.hub.loginradius.com/auth.aspx?action=login&return_url=<Return URL>">Login</a>
- Registration Page
<a href="https://<LoginRadius Site Name>.hub.loginradius.com/auth.aspx?action=register&return_url=<Return URL>">Register</a>
- Return URL: The URL you would like to redirect customers after completing the selected action.
Try this link out on your page, you should be redirected over to the LoginRadius Hosted Page, where you can register and log in.
Note: Use the following URL link to display the profile page of logged-in customers.
<a href="https://<LoginRadius site name>.hub.loginradius.com/profile.aspx">View Profile</a>
Use the below JavaScript snippet to capture the access token on your page:
function getParameterByName(name) {
    name = name.replace(/[\[]/, '\\[').replace(/[\]]/, '\\]');
    var regex = new RegExp('[\\?&]' + name + '=([^&#]*)');
    var results = regex.exec(location.search);
    return results === null ? '' : decodeURIComponent(results[1].replace(/\+/g, ' '));
}
getParameterByName(token);
Note: We have additional language-specific examples here if you want to capture this token in other programming languages.
Step 3: You can leverage the following CommonOptions for Cross-Device SSO in the JS code:
Note: For making the below code work, import the LoginRadius JavaScript interfaces on your page using this link:
https://auth.lrcontent.com/v2/js/LoginRadiusV2.js.
However, if you are using HTML, you can directly paste the below script in your HTML file:
<script src="https://auth.lrcontent.com/v2/js/LoginRadiusV2.js"></script>.
var commonOption = {
    apiKey: 'XXXXXXXXXXXXXXXXXXX',
    sott: 'XXXXXX-XXXXXXXXXX-XXXXXXXXX',
    appName: '<app name>',
    isCrossDeviceSSOEnabled: true
    crossDeviceSSOPingCount: 50,
    crossDeviceSSOPingInterval: 10
}
var LRObject = new LoginRadiusV2(commonOption);
var cd_sso_options = {
    onSuccess: function(response) {
        console.log(response);
    },
   onError: function(errors) {
        console.log(errors);
    },
    container: 'crossdevicesso-container',
    expirytime: <QR_code_expirytime_in_seconds> // If its not define here default time will be 60 seconds and if expirytime > 60 sec then error response will get expired after 60 seconds
};

LRObject.util.ready(function() {
    LRObject.init('crossDeviceSSO', cd_sso_options);
});
HTML Container
<div id="crossdevicesso-container"></div>
Step 4: Once you have added the code, there should be a container showing the QR code, as shown below.

Note: The QR code will be displayed for 60 seconds by default. You can define the time as well accordingly.
Step 5: Now, in order to scan the QR code, you need to create a mobile application that can scan the QR code and send the QR code (along with the existing access token on the mobile app) to the LoginRadius server using the Add QR Token API. Once the token reaches the server, you will be automatically logged in to your web application.
Part 2 - Next Steps
The following is the list of features you might want to add to the above implementation: